Sunday, November 15, 2020

Goody-Pie

 Goody-Pie


    This recipe is the last of the choices I gave when I had a poll to see what I should make.  The winner was Vegetable Dish, so I made the Spanish Lima casserole, then it was the Meat Dish (Donna James' Salisbury Steak) and now this, Dessert.  Reading the recipe, it is clear it is not a pie, but more of a "crisp".  It's a pretty easy recipe and I enjoyed making it. However, although it tasted good, I wished I had not chopped the apples so small and it was way too much sugar. And, I was on FaceTime with a friend and accidentally put 1 teaspoon each of baking powder and baking soda instead of 1/4 teaspoon of each.  I figured at least they were equal amounts; at least I was consistent with that. *It didn't really affect the taste* I plan to try this recipe again, only I will double the amount of apple, and will use less sugar.  I'll take out the single cup of white sugar mixed with the apples before the topping with has more sugar in it. Because I'll be doubling the amount of apple, I'll also use a bigger baking dish.  

    I started by melting the 1/3 cup butter, so it could cool while I was fixing the apples (cutting, peeling and chopping) and mixing the dry ingredients for the topping.   The recipe says you can also sprinkle lemon juice over the apples, which I didn't do, to help prevent the fruit from turning brown.  I used two decent, good sized honey-crisp apples, which were just a tad over 3 cups. You can sprinkle cinnamon over the apples in the dish, if desired.  I chose to mix 1 teaspoon cinnamon in with the white sugar and then poured that over the apples, which I had spread in my round baking dish.  I combined the dry ingredients for the topping together in the order listed and stirred in the cooled butter with a fork at first and then used my clean hands to make sure it was completely mixed.  Next I spread the topping mixture over the apples and put it in my oven for 45, which I had pre-heated to 350 degrees.  The recipe says "a moderate oven" and I figure 350 degrees is pretty standard. My kitchen started smelling really good pretty quickly. It was awesome!!

    When my baking time was up, some of the topping still looked "dry", but I think that happens with a lot of crumbles/crisps. It was a nice, dark brown bubbly color around the outside though.  I served myself a small dish with some whipped topping and then remembered I had maple flavored whipped topping in a can, so I tried some of that also and it was awesome!!!! I will say though that I did not eat all of the gooey goodness on the bottom of my bowl, but that wasn't because of the taste, it was because it was just so sweet.  I hate to say it, but I didn't save what was left, because of the overpowering sweetness.  After I did that though someone I talked to about it suggested using bits of it on top of oatmeal and then I was kicking myself, because I thought that would have been a great idea to be able to at least use some of it. 

    Anyhow, like I said up top, I liked this dessert and will make it again, but with less sugar and more apples.  If you try it, let me know if you like it.  You may be okay with the full amount of sugar, so it's up to you if you want to try it. Using more apple and a bigger pan might help.  

    This recipe was submitted to the cookbook which started this all by a Mrs. W. O. Abram.  


Sunday, November 8, 2020

Donna James' Salisbury Steak

    Donna James' Salisbury Steak


    Donna James' Salisbury Steak finished 2nd place in the poll I ran to determine what I would make last week.  The winner was last week's Spanish Limas casserole. The recipe was on a newspaper clipping which had been cut out by an unknown female relative of mine and stuck into the cookbook which belonged to my great-grandmother.  There's no date or any clue of what newspaper it appeared in, but it likely was a Central Iowan newspaper, since that's where my relatives lived.  It looked pretty ease and it was. You simply mix the first seven ingredients (ground beef, dry bread crumbs, egg, salt, pepper, minced onion and finely chopped celery), form it into an oval shape, brown both sides in a heated skillet (the recipe calls to brown it in butter, but I forgot and just used a drizzle of oil) and pour the cream of mushroom soup which you have mixed with the given amount of water, over top. The recipe says you can add boiled potatoes around the meat and the sauce and meat juices will make a gravy.  

    I made the meat mixture and let it set, while I washed and cut in half baby potatoes. I added the baby potatoes to boiling water to start those cooking while I browned the meat.  I formed the meat into an oval(ish) shape as instructed and transferred it to my heated cast iron skillet.  Where I had a problem, was when it was time to turn the meat over.  It was simply too large to flip over and mine broke.  No biggie though. Now I just know it would be best to make two smaller shapes.  So, I kept checking the potatoes and when they were cooked, but not mushy, I drained them and poured them evenly on the sides of the meat. Next I poured the diluted cream of mushroom soup over top, put a lid on it, turned the heat down and set a timer for twenty-five minutes.  

    It smelled pretty good while it was cooking and I was glad when it was finished, because I was excited to try it.  I let it cool a bit and then served myself some of the meat and potatoes, along with the  "gravy".  It seams more of a sauce, but whatever you call it, "sauce" or "gravy", it was good.  I didn't do a pretty presentation and in fact, it doesn't look super appetizing, which is not a ringing endorsement, but you know what?  It doesn't have to look pretty all the time. I did take a video of the bubbling skillet when I first took the lid off. 

    Would I make this again? Yes.  I thought it was good.  You could serve four people (meat portions may be small), but I would maybe cook the potatoes on the side instead of completing them in the pan with the meat.  They were flavorful cooked in with the meat though. If you use a bigger skillet (mine is a 12 inch, I believe), you could do it to make sure you have enough for four people.  You also could have a vegetable side dish, which could help extend servings. I had butternut squash which I had cooked yesterday, but forgot to heat up to eat with my Salisbury Steak.  Some nice rolls or bread would be great because, there's gravy and who doesn't like to "sop up the gravy" with bread?  

    Is there anything else I would different besides making two shapes of meat? I would maybe add less salt or maybe none.  You can always add salt at the table, which I think would be fine. You could maybe add some spice to it. Try your favorite spicy seasoning at the table or while cooking. The recipe suggested cream of chicken or cream of celery soups as an alternative to the cream of mushroom.  I like cream of mushroom, so I don't think I would do that.  

    So, if you try this, I hope you like it.  And let me know.  :)


Sunday, November 1, 2020

Spanish Limas

 Spanish Limas


    So, I ran a poll to find out what I should make this weekend? The choices were vegetable dish, meat dish or another dessert.  I pre-selected recipes for each category (Spanish Limas, Salisbury Steak and Goody Pie) and the winner of the poll was "vegetable dish". I was kind of excited to try this. I've not had lima beans that often and definitely cannot remember ever buying them.  At the store yesterday, I almost couldn't find lima beans and when I did, I had to ask another customer to reach them for me.  I had chosen to use canned (couldn't find dry anyhow) and the cans were double stacked on the top shelf and I am 4'8", so that wasn't happening. Sometimes I climb on shelves to get things, but I knew it wouldn't end well this time if I had tried to get the beans.  Anyhow, lets get back to it. 

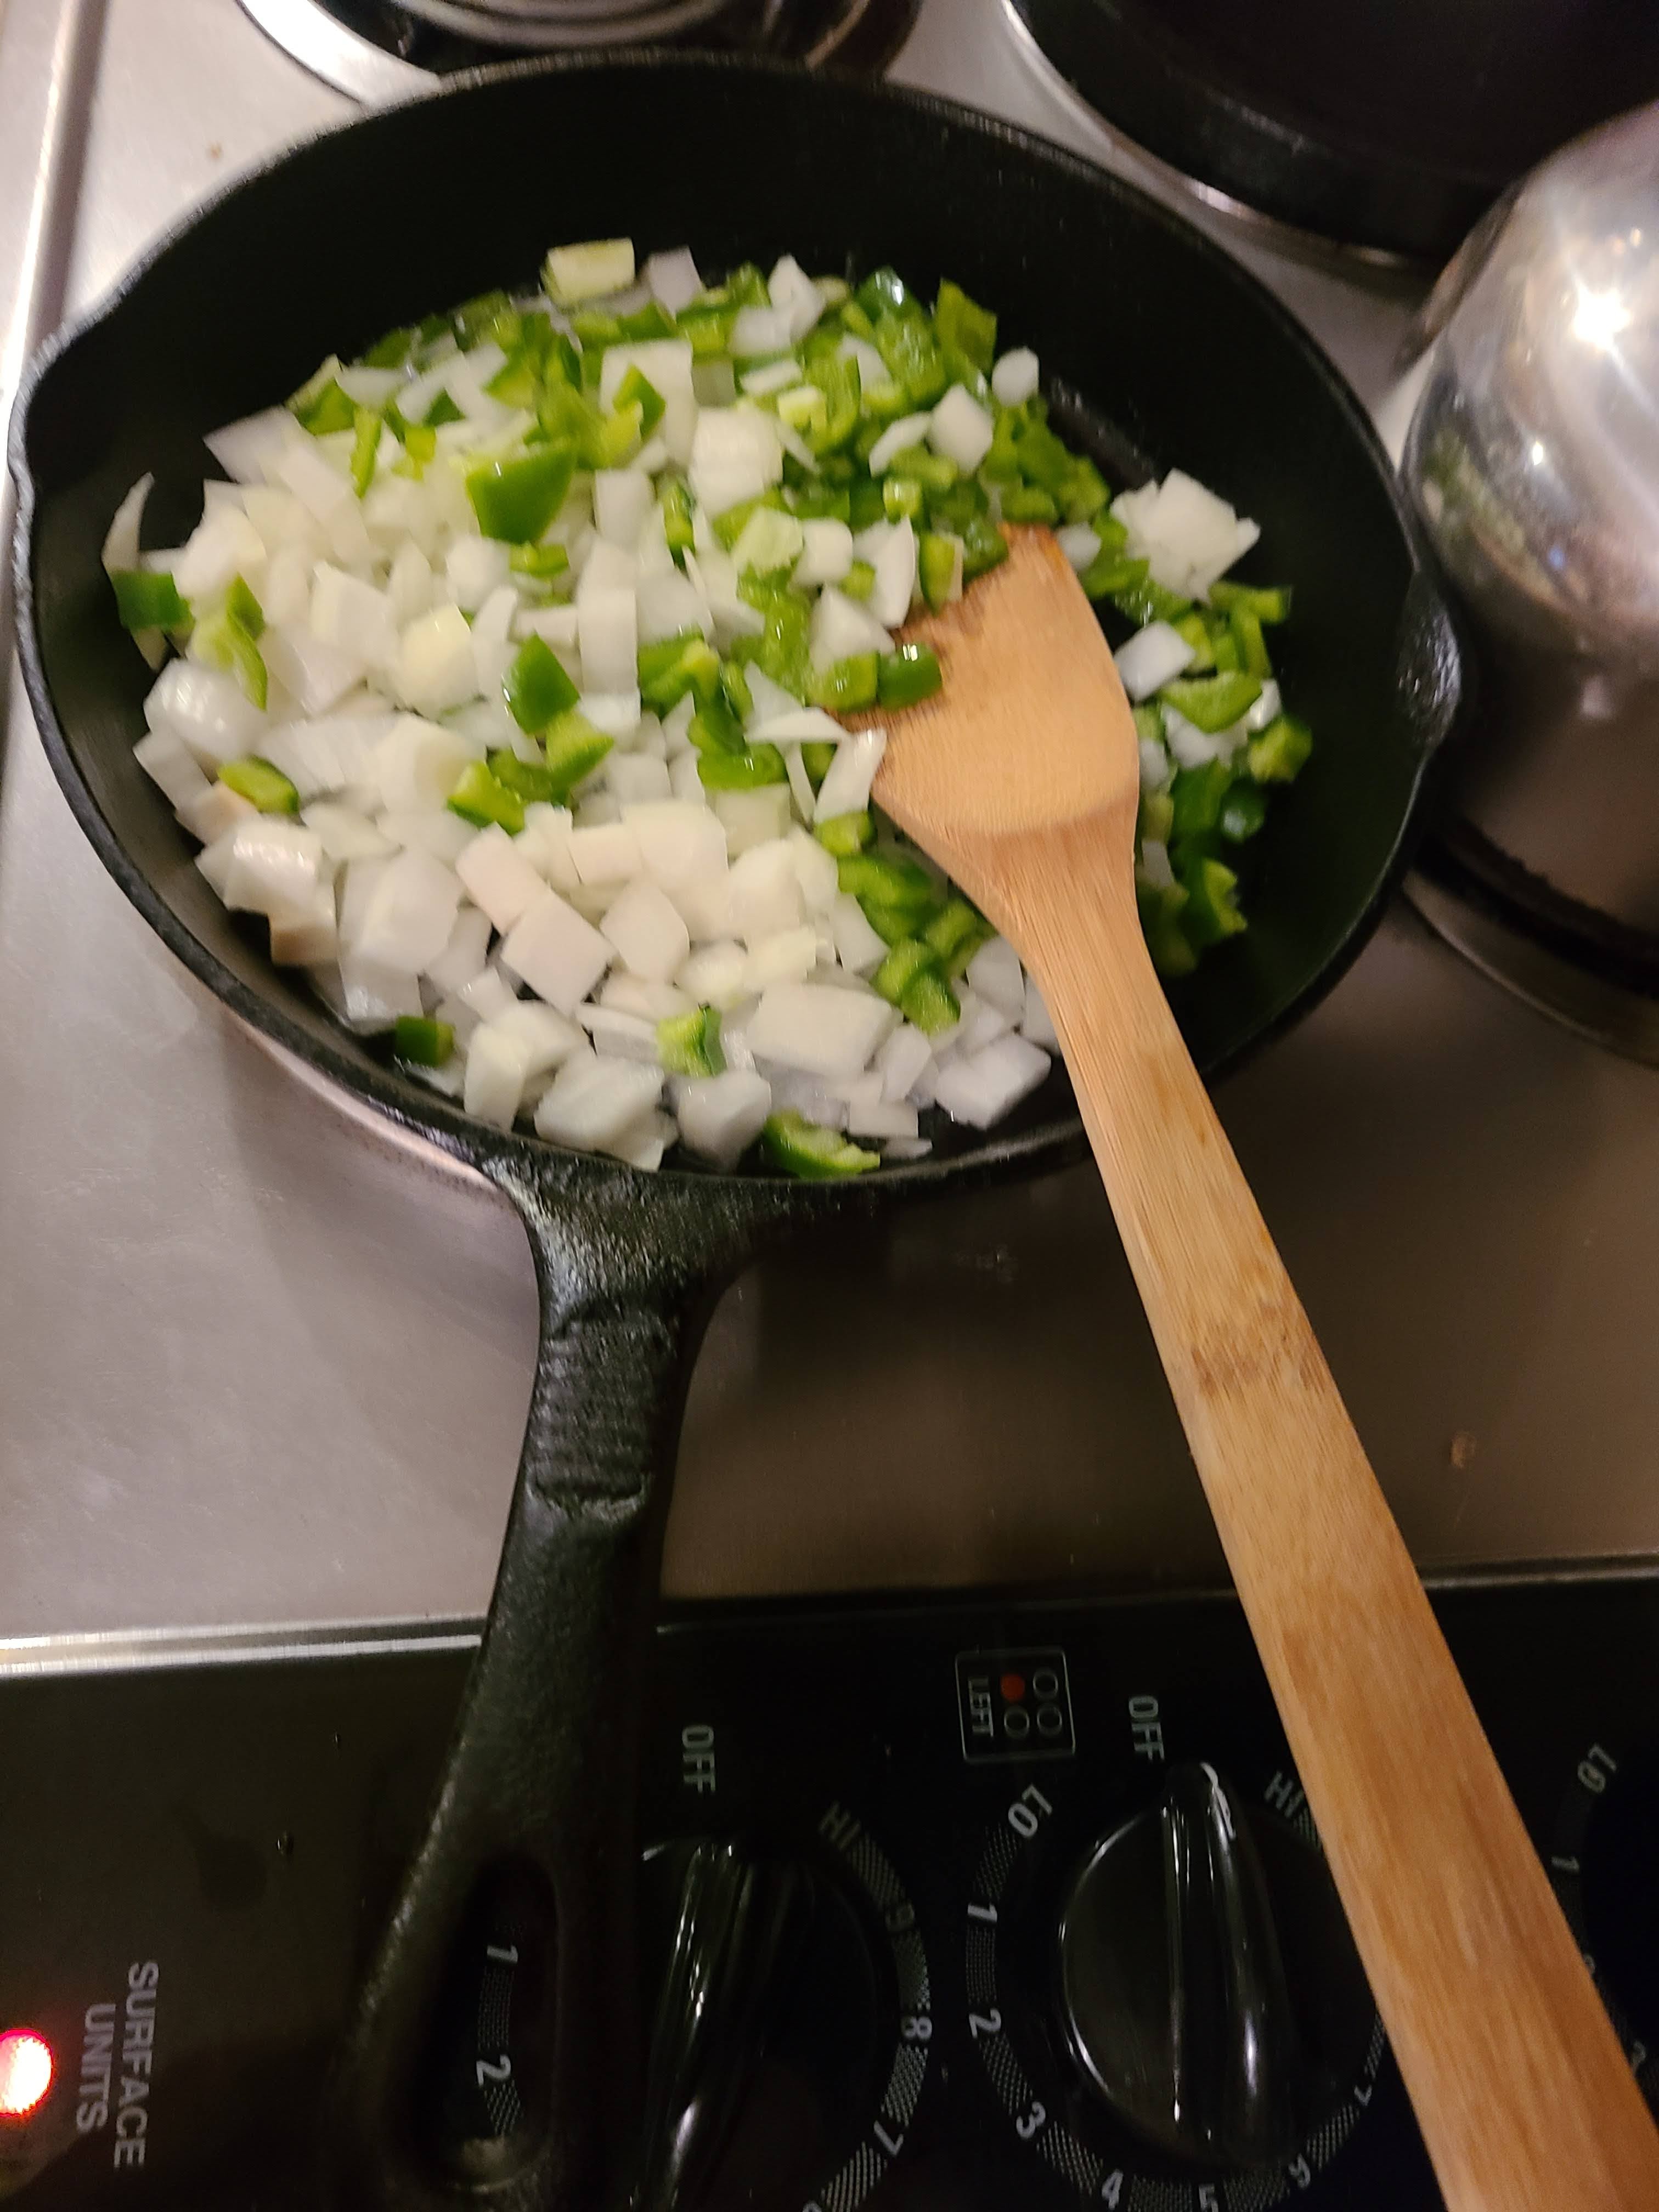
    The first step was to wash my veggies, tomato and green pepper (1 medium) and seed the pepper.  Next up was the onion (1 medium-ish) which I peeled and chopped.  I put the green pepper and onion into my large cast iron skillet, in which I had melted 2 tablespoons of butter. Instructions are to brown the onion and green pepper and then add the diced tomato. While the onion and green pepper were doing their thing, I seeded and diced the tomato.  Two and a half Roma tomatoes equaled the 1 cup of tomato called for in the recipe. You could use a little more or less if you like. I set the diced tomato aside and drained my& rinsed my lima beans. 

    Once the onion and green pepper mixture was ready, I added the diced tomato and cooked it on Low for 10 minutes, stirring often. I also prepared my other ingredients aka the seasonings: chili powder (in lieu of straight up chili power, I used my Arial's Spices "Spice & Chili Mix" which I found at the Dallas Farmer's Market), salt  and pepper. After 10 minutes, I added the seasonings and Worcester sauce and made sure to combine thoroughly. Finally, it was time to add the lima beans.  Once I'd stirred everything together, I simmered the mixture for 20 minutes on Low, stirring often. While this was working, I measured out 1 1/2 cups of shredded cheese. I used Monterrey-Jack, pre-heated my oven to 350 degrees and buttered a casserole dish (I used one of my favorite retro Anchor-Hocking FireKing dishes) on the bottom and sides.  

    After 20 minutes, I layered the lima bean/onion/tomato mixture with my shredded cheese in the casserole dish. I ended with a layer of cheese and because I love cheese, I ended up using about 3/4 to a 1/2 cup of extra cheese on top. The casserole went in the oven for 30 minutes.  It looked pretty good when I took it out at the end of the cooking time.  I let the dish cool for about 10 minutes and served myself a portion and added a side salad of mixed baby greens. 

    The verdict? I liked this dish. Seasonings are easily adjustable to taste.  I'd maybe add a little more chili powder next time. You could easily add in diced chicken, ham, bacon or even cubed and cooked tofu.  If you don't like lima beans, you could substitute butter beans and it would work.  Would I make this again? Yes. Would I try it with chicken or bacon? Yes. And finally, I've been recognizing the ladies who submitted recipes to the community cookbook which inspired me to start this blog, so "Thank You" to Ethelyn Downing.  


Sunday, October 25, 2020

Grape-nuts Bread

 Grape-nuts Bread


    I did it! I made the Grape-Nuts Bread. What a success!!!! In my last post (Orange Bread) I talked about having had a poll to decide what I would make and Orange Bread won over the Grape-Nuts Bread. I had decided that I would make the Grape-Nuts Bread the week after the Orange Bread, because I was intrigued by it.  

    Just like a lot of the other old recipes, there was no measurement given for at least one ingredient. Salt. I guessed 1 tsp. This recipe called for 3x7 loaf pans and baking at 350 degrees for one hour and the recipe makes two loaves. So, what did I do first? You have to soak the Grape-Nuts in two cups of sour milk "for a few minutes", so I needed to start that before gathering the other ingredients. But first, sour milk? I googled sour milk and found out how to make sour milk for baking.  Once I made the sour milk, I stirred in 1 cup of Grape-Nuts cereal. Next up I sifted 3 cups flour with 1 tsp baking soda and 2 tsp baking powder. I mixed 1 tsp salt, 2 eggs, and sugar with the sour milk & Grape-Nuts mixture and mixed the dry ingredients about a cup at a time.  It seemed a little lumpy, so I actually used a whisk for most of the mixing and my favorite wooden spoon for some.  The batter seemed fairly thin, but I had to try it exactly like the recipe.  

    I poured half of the batter into a greased and floured loaf pan.  Into the other half of batter, I added half a cup of chopped honey roasted pecans & cranberries and poured that batter into my second greased and floured loaf pan.  I placed both loaf pans into my wonky, old oven which I had pre-heated to 350 degrees, set the timer and went and kept myself occupied. I was ready to go when the timer went off.  I removed both pans and set them on cooling racks.  After they had cooled for a while, I loosened the edges with a knife and removed them from the pans to continue cooling on the rack and a little while later, I cut myself a slice of the loaf to which I added the pecans & cranberries.

    The result? Like I said above, this recipe was a success.  I'm not sure I would do the nuts in this bread again, but dried cranberries or cherries even would be okay. It is wonderful without any additions.  I really liked the flavor of the bread and the texture was good.  I thought the crust was fine.  Nice and brown, but I would have liked it a tiny bit less "crusty", so maybe a few minutes less baking time would be fine.  I will 100% make this again.  Thank you to, Mrs. Ralph M. Wilson, who submitted this recipe to the church community cookbook, aka the cookbook that started me on this cooking/baking adventure.      

    Also, I made French toast with the bread this morning and it was so good, so try that also.  It's just me, so I decided to freeze most of what I made using my FoodSaver vacuum sealer.  We will see in several weeks/months, how well this bread keeps in the freezer.  I am betting it will be just fine. 


*The below instructions for making sour milk were found with a google search and are from Atco Blue Flame Kitchen*

*The Cranberry & Pecan mix is from Fresh Gourmet*


Monday, October 19, 2020

Orange Bread

 Orange Bread


    I ran a poll on Twitter last week, to determine what I would make next for my blog. The four choices were Raisin Bread, Orange Bread, Nut Bread and Grapenuts Bread (Yes, that Grapenuts).  In a stunning result, there was a tie between Orange Bread and Grapenuts Bread!! I ran a tie-breaker poll and Orange Bread won. I decided though that I would bake the runner-up next week.  So now we'll talk about Orange Bread. 

    Like I've said before, a lot of these old community cookbooks do not include pan sizes, oven temps and measurements are not always given.  The Orange Bread recipe did not give a measurement for salt, called for 4 teaspoons of baking powder (what???), did not say what size pan (I used a regular loaf pan) and again, no oven temp (I used 350 degrees).  I had fun making this, even though I was worried about how it would turn out with so much baking power and having to guess at how much salt to use.  I decided to "split the difference" and do two teaspoons of salt.  It was a little bit of a pain to prepare the orange peel.  I used a zester and then still tried to grind the pieces.  I was pleased with how the pieces of peel turned out.  Sifting the flour, baking powder and salt not one, but four times, was a pain also, but I did it.  I cooked the orange peel with sugar, which made a bit of an orange syrup and set it aside to cool.  After letting the syrup cool for awhile, I sifted those ingredients and set them aside. Then I combined the milk with the egg and added the orange syrup before slowly adding the liquid mixture to the dry ingredients.  I lightly greased and floured the loaf pan and I was ready to go.  

    So, I had decided to bake the bread for 35 minutes at 350 degrees.  When I checked it, it had spilled outside one side of the pan. I pulled the pan out, scraped off the bit which had overflowed and shoved it back in there, because it wasn't done.  I think (I'm clearly so well-organized that I don't remember how much longer I baked it; so helpful!) that I baked it for another 15-20 minutes and took it out to cool.  

Once it was cool, I cut into it and surprisingly, I really liked how the texture looked. I cut a slice and put a bit of butter on it and nervously tried it.  The verdict?? Definitely a bit too salty.  One teaspoon may work well.  It wasn't super orange-y flavored, but it was good (other than tasting too salty) and the texture was good.  It wasn't dessert bread texture (soft like banana bread), but definitely like regular bread.  

The next day I thought I'd try to make French toast with it and that turned out really well.  It was yummy enough, that I'm going to slice the rest of the loaf, to freeze and make French toast with when I want it.

Will I make this again? Yes, because I am determined to get the baking powder & salt combination right; along with the baking time and a stronger orange flavor.  Like I said, I think I will try less salt and maybe less baking powder. 

Anyhow, pictures below.  Thank you to Mrs. B. Christerson who submitted this recipe to the church community cookbook which started this all. 

1) The Recipe

2) The orange syrup

3) The "Disaster" (It spilled into the bottom of my oven)

4) The good and bad sides of the loaf after it was cooled

5) The view of what the bread actually looked like; I was trying to show the little speckles of orange peel in there as well as the texture


Sunday, October 11, 2020

Colorado Cream Pie

 COLORADO CREAM PIE


        So, here's the second recipe I've tried from the cookbook which started this all.  Colorado Cream Pie; recipe submitted by Mrs. Oliver Grimes.  It feels like pie crust has been the bane of my existence.  I've had crust not turn out well. Partly, I think because I'm not good at rolling it out; I've been scared to even try.  This time I used a recipe for a 9 or 10 inch double crust; I only needed one crust but the recipe for the single crust said that if you were doing a 9 inch pie, you should use the bigger recipe.  The pie crust recipe is on page 70 of my copy of the 1960 (1965 5th edition) Better Homes & Gardens "Dessert Cook Book".  I have a zillion dessert books in my cookbook collection, but I bought this particular cookbook, solely because it is exactly like the one my mom had. On a side note, my dad did most of the cooking when we were growing up and mom cooked on her days off. Sometimes she made chocolate cream pie with merengue for my dad (his favorite) and that recipe is in this cookbook.  I haven't been brave enough to make the chocolate pie, because when I make it, it will probably taste like her pie and that will make me cry buckets.  I've only had chocolate cream pie with merengue once in the almost 30 years she's been gone, where it tasted like her pie.  And that was at the old Stone's Restaurant in Marshalltown, Iowa, where some of my family is from.  

    Anyhow, back to my Colorado Cream Pie.  The ingredients are sugar, flour, butter, milk, vanilla, salt and two eggs (separated).  You cream the sugar, flour and butter, add the egg yolks, milk, vanilla and salt; mixing well. The recipe directs you to stiffly beat the egg whites and fold them into the other mixture.  Once that's done, you pour the filling (it was very, thin) into the unbaked crust.  It was the perfect amount for my 9 inch pie pan (Pyrex glass), so if you try this recipe, use a 9 inch pie dish. Much like a lot of recipes in these old cookbooks, pan size, no oven temperature was given and no baking time was given.  It only says "bake in a moderate oven, until inserted knife comes out clean. I used 350 degrees and started with 35 minutes. At 35 minutes, the filling didn't seem anywhere near being set, so I didn't even check it with a knife. I did another 10-15 minutes baking time.  I set the pie pan on a slightly elevated cookie rack, did the knife check and it was perfect.  I used an elevated cookie rack to cool, because I figured it would help it cool faster.   

    I probably could have let it cool a little longer and I don't remember how long I did, except I think it was about 1 1/2 hours or so. When I cut into the pie, I was able to easily remove a slice. The filling was "soft" if that makes sense, but it did not run all over the place, so I consider that a success! The pie crust was the only thing I wasn't super happy with.  It was not 100% cooked all the way through.  Close.  I think if I'd rolled the crust thinner, the crust would have turned out better.  Even with that, I was pretty proud of that crust.  It didn't bubble up anywhere and I thought the texture was fine.  

    Overall, I was really happy with this pie.  It tasted really good. Sweet, but not too sweet and it had a nice, not overpowering vanilla flavor  And, it was good today (of course I had to test that out). I just covered the pie pan and put it in the fridge.  Will I make this again? Another 100%, "Yes"!!!! And, let me know if you try it.  


Tuesday, October 6, 2020

Porcupine Balls

 Porcupine Balls

        So, I finally made something from the cookbook which got me to start this blog. I made  Porcupine Balls.  I think I'd heard of these before, but hadn't ever considered making them.  This recipe calls only five ingredients: 1 1/2 lbs sausage, 1/2 cup uncooked rice, 1/2 cup milk, onion and sage. Including tomato sauce to pour over top, there's six and there is a note to 'flour' them, so if you want to do that, it's seven ingredients.  I somehow missed that part and didn't flour mine and they turned out fine.  

    The directions are to mix in the order they are listed, make small balls, flour and pour the sauce over them.  Bake slowly for 2 hours.  The recipe doesn't give a pan size or an oven temperature, which I've found in old, cookbooks like this one, there isn't always a pan size and directions are sometimes really unclear. But, I decades ago (like this cookbook is approximately 80 years old), so many more women regularly cooked every single meal, twenty-four/seven and they probably just knew what to do.  

    I used regular sausage that comes in the little tubes, white rice, 1/2 of a medium onion (diced) and I didn't have sage, so I used Italian seasoning mix (2 teaspoons in the mixture and sprinkled some on top). I didn't flour the balls and I used a tiny can of tomato paste, which I thinned out with water to about 2 cups and added a small can of tomato sauce. 

   A small ice cream scoop was used to make the balls and I really liked the size they ended up being. I didn't use any cooking spray on the pan, but I guess you could. It turned out fine without it.  I had the common sense to use the largest baking dish I had (11"x14", I believe) and I still had to squeeze them in there.   After I'd placed all of the balls in the baking dish, I poured the tomato sauce I mixed up over top and placed the pan in a pre-heated oven at 325 degrees.  I ended up taking them out about 12 minutes early.  They were perfect and my house smelled really good! 

    What would I do different? I would try using minute/quick rice or maybe even pre-cooked rice and I would play around with using a hotter oven and cooking for a shorter length of time. I think you could absolutely make these ahead of time and store them without the sauce, refrigerated or even freeze them. Obviously if you freeze them, you'd need to ensure you thawed them out before baking with the sauce.  There's definitely some possibilities for changing things up a bit.  Like, my using the Italian seasoning, not just sage, was an excellent decision.  And, I sprinkled a little bit of parmesan on top when I was ready to eat. I made brown rice to go with mine, but you could easily to some kind of pasta or mashed potatoes. I think you could also make some delicious hot subs with these.  Just add some extra sauce and cheese. 

    I ended up with 20 sausage balls. For me I had 4 in a serving with a side of brown rice. You could have 4 - 5 servings, depending on whether or not you want 4 pieces of 5 pieces. 

    Would I make this again? Oh my gosh, 100%, yes!!!! It tasted really good and wasn't greasy at all, which I'd kind of been expecting.  

    A huge "thank you" to Mrs. Ray Sheeley, who submitted this recipe back in the early 1940s.  


Soup #7 - Cheese Soup

  The Year of Soup Soup #7 - Cheese Soup      This recipe is based off of a recipe in one of my favorite cookbooks in my collection. Better ...