Sunday, September 5, 2021

Lemonchick's Leek, Bacon and Quinoa Dish

 Lemonchick's Leek, Bacon and Quinoa Dish


    Dear Readers, I created this recipe this morning.  I've been making a real effort to eat healthier and am also experimenting with alternative protein sources; I'm not anti-meat, but one of my doctors suggested trying to get more protein from sources other than meat, so I am.  One of the things I've discovered that I like, is quinoa. One cup of quinoa contains 8 grams of protein.  I subscribed to Imperfect Foods for about a month and a half, and while it is not a great fit for me, I did get some good produce and tried some new things. For example, I wanted to try leeks, so I got leeks in my last box. There were two leeks and they were huge!!!! I didn't know anything about cooking them, but they are giant versions of the way smaller green onions, so I knew they'd be onion-y (Just like green onions, the closer you get to the bulb, the more onion flavor) and that I could cook them just like you would if green onions.  

    Anyhow, I tossed around the idea of cooking them and making an Asian inspired sauce to serve with.  I went with the much easier, cooked and sauteed with butter.  I had thought about serving them as a side with rice or quinoa, but decided to create a 'salad' if you want to call it that. I'm calling it a 'dish'. So, below is my recipe for my Leek, Bacon and Quinoa Dish.  I enjoyed it; it was pretty easy to make and tasted good, so I would make this again.  

    This can be made without bacon; try cubed or diced paneer cheese or tofu. You could also add a sprinkle of parmesan cheese, because I bet that would be yummy.  This time around, I only did the red chili pepper flakes and salt-substitute.  I didn't want to add to much other seasoning, because the leeks would be flavorful enough (I was right).  

Alone or served as a side with chicken, pork, beef, try this and let me know what you think. 


Ingredients:

1 Cup Quinoa

1 Leek (mine was giant), sliced 

8 Strips of Bacon (or more, this is totally up to you)


Directions:

    Cook quinoa according to directions and set aside; cut the tip of the bulb and slice up your leek. Slice as thin or thick as you like (mine were pretty thin) and drop into a skillet pre-heated with a little bit of oil.  Cook until tender, add butter and stir.  While your leek is cooking, add bacon to another pre-heated skillet.  Cook until both sides are browned, but not crispy and drain on paper-towels. Cut bacon into half inch or so pieces. 

    To assemble this dish, spoon 2 cups of your cooked quinoa into a large serving dish (you'll have about 1 cup of quinoa left; so save that to use in another recipe). Add your sliced leek and bacon and stir to mix all the ingredients.  I added a sprinkle of red pepper chili flakes and salt-substitute. 


Lemonchick's Leek, Bacon and Quinoa Dish

Saturday, August 21, 2021

Creamy-Spicy Sauce

 Creamy-Spicy Sauce


        This is a super easy sauce.  I'll give some measurements, but you can adjust as needed or to taste. I made this sauce for chunked pork loin, which I served over rice.  You can use it on chicken or maybe fish or even on plant based substitutes.  Try it with cooked & cubed tofu or paneer cheese or potato. Try it with pasta or rice and mix in chunks of meet or the aforementioned tofu/paneer cheese. I used La Costena Ranchera Salsa. This salsa is a tomatillo and mixed chili peppers sauce.  I definitely taste chipotle in there and I love chipotle. This salsa is a dark, roasted color.  La Costena products can be found at Latino groceries and other local grocery stores. 

    First, cut your pork/chicken/tofu/paneer cheese/potato into chunks as big or small as you like. Heat a skillet, add a bit of oil (I like canola & olive oil) or cooking spray. Add whatever you decided to use, meat, tofu, paneer cheese, to the skillet and cook until meat is cooked thoroughly or the tofu/paneer cheese is completely cooked.  Sorry I don't have more info on how to tell when tofu/paneer cheese is completely cooked.  I just cook paneer cheese so it is a little browned on the edges of the cubes and some of the pieces pop a little.  Also, the tried and true method is to just spear a piece with a fork and check it by biting it. For potato, I like to cook the cubed potato in salted boiling water until softened, but not too soft, because I'm adding it to a skillet.  

Second, determine how 'saucy' you want your sauce.  I like saucy, myself.  You can start with 1 cup of sour cream and mix in "salsa to taste".  Add the sour cream and salsa mixture to your skillet with your meat, tofu, paneer cheese or potato and heat through, stirring to combine all.  

Third, if serving with rice or pasta, fill bowls with rice/pasta and spoon your meat/tofu/paneer cheese and sauce mixture over top.  Serve with bread and butter if you like.  

Ingredients:

La Costena Ranchera Salsa or try it with your favorite salsa

Sour Cream

Pork/Chicken/Tofu/Paneer Cheese/Potato (Use enough for the amount of servings you plan)


Creamy-Spicy Sauce with Pork


Wednesday, July 21, 2021

Southwestern-ish Salad

 Southwestern-ish Salad


    No special recipe here (although I will tell you what I had in my salad). I just had a salad last night. This is so simple. Just layer your ingredients in the order you want them, drizzle some of your favorite salsa over your bowl, followed by your dressing (I used Ranch dressing here), add a sprinkle of black pepper and you are good to go. Use as much of any ingredient as you want. You can always add crushed up tortilla chips or tortilla strips for some crunch, like I did for my lunchtime salad today. 

Ingredients:

Baby Spinach, washed & patted dry

Veggie Mix, a scoop

Veggie Mix:

    1 Can Corn, drained, rinsed & drained again

    1 Can Blackbeans, drained, rinsed & drained again

    1 Can Diced Tomatoes, drained, rinsed & drained again

Pickled Carrots, a small scoop

Cotija Cheese, to taste

Salsa, I used taqueria style

Ranch Dressing

Black Pepper

Southwestern-ish Salad


Saturday, July 17, 2021

One Year Blog Anniversary!!!!

 One Year Blog Anniversary


    July 12, 2020, I decided to start this blog and now it is July 17, 2021.   I've had 50 posts. Three did not contain recipes and 47 were recipes that I either shared or created myself.  In my Six Month review, I highlighted favorites from the first six months.  I'll share favorites from the second half of this first year and then I'll rank my Top 5 (as voted on by me).  

    Favorites from the second half of my first year are Fudge, Pineapple Pecan Pudding, Bacon and Onion Pie, Potatoes Peasant Style, Grandma Marlin's Norwegian Best Bean Hot Dish and Odetta's Sweet Cheese. Out of these, my favorites are the Bacon and Onion Pie and Grandma Marlin's Norwegian Best Bean Hot Dish, with Odetta's Sweet Cheese coming in third. 

    Now, my top five favorite recipes from the first year. Receiving an Honorable Mention is the Fruit & Honey Candy recipe, which is the recipe I was most shocked by. It was difficult to make, because of the portions of ingredients and the food processor I have is not large, but I made it work. It was a delicious healthy treat. 

1) Bacon and Onion Pie - I loved everything about this dish. 

2) Colorado Cream Pie - This was the first pie I made for this blog and I hadn't made a pie crust in a long time. I was pleasantly surprised. Although I wish that the filling was a little more "set", it tasted fabulous. 

3) Grandma Marlin's Norwegian Best Bean Hot Dish - This was a good, filling dish.  I liked the sweet, tangy flavor. 

4) Grape-Nuts Bread - I was a bit surprised by the finished flavor of this.  It had a nice, little sweet and 'malty' flavor.

5) 5-Hour Stew - Also a filling dish. Perfect for a cold and/or rainy day. 

Bacon & Onion Pie


Colorado Cream Pie


Grandma Marlin's Norwegian Best Bean Hotdish

Grape-Nuts Bread


5-Hour Stew


Fruit & Honey Balls


White Bean & Roasted Garlic Dip

 White Bean & Roasted Garlic Dip


 I've adapted this recipe from "dip it!" by Rick Rogers. Printed in 2002. This dip is pretty much like hummus.  I really liked it. It is good on crackers, pita chips and could be used as a dip for veggies or even as a sandwich spread on pita bread. 

Ingredients:

2 cans {15 1/2 to 19 oz) cannellini beans (white kidney beans)

1 tablespoon minced garlic (the original recipe calls for a large head of garlic roasted)

1 tablespoon Italian seasoning (the original recipe calls for fresh herbs like, sage, thyme, rosemary, a combination of the three, or Italian seasoning)

2 tablespoons lemon juice (I used fresh squeezed, which I recommend, but in a pinch, you can use botttled)

1/8 teaspoon or to taste crushed red chili pepper flakes (I think I used 1/4 to 1/2 teaspoon)

1/3 cup extra-virgin olive oil as needed (I didn't have olive oil, so I used a little bit of canola oil)

salt to taste (I didn't add salt to mine)


Directions:

    Open your cans of beans and rinse well, retaining the juice from the cans. You're retaining the juice, in the event that your dip is a little too thick.  The dip may thicken if you refrigerate the dip overnight or you may just want a little bit thinner dip. Me? I refrigerated overnight and I wanted to have a little thinner dip anyhow, so I mixed in some of the reserved liquid the next day. 

    I roasted my minced garlic until soft, on a pan which I'd sprayed with a little non-stick cooking spray. I don't know how long that took exactly. I just know how soft I wanted the garlic.  Either way, if you use minced garlic or if you are using the whole garlic head (you're going to squeeze the garlic from the skin), add the garlic to your food processor with the beans, herbs or seasoning, lemon juice and the chili pepper flakes. Process your ingredients until smooth, adding enough of the oil to make it into the consistency you want.  

    Serve in a little bowl or on a chip and dip tray with crackers, pita chips or veggies.  You could sprinkle a little extra seasoning on top before putting your bowl/tray out, to make it pretty or just if you want to when serving just on crackers.


A plate of crackers with dip and as you can see my canine "helpers" were waiting to see if they were needed for a taste test. 

Close-up shot of one of the crackers. 


Tuesday, July 13, 2021

Lemonchick's Ambrosia Fruit Salad

 Lemonchick's Ambrosia Fruit Salad


    I have a super easy fruit dish for you.  Combine all ingredients and refrigerate until chilled.  Serve in small bowls or cups. 

Ingredients:

1 Can Crushed Pineapple (You can use chunks also); drain excess juice

1 Can Mandarin Oranges; drained

1 Jar Maraschino Cherries (You can use as many as you want; just cut them in half); drained

Shredded Coconut to taste (I used about 1/2 Cup; but use more or less to your taste)

Mini Marshmallows (Honestly, I did not measure how much I added; use more or less to your taste)

Slivered Almonds (Optional) (I did not opt for nuts this time around)

Ambrosia Fruit Salad


Sunday, June 20, 2021

Odetta's Sweet Cheese

 Odetta's Sweet Cheese

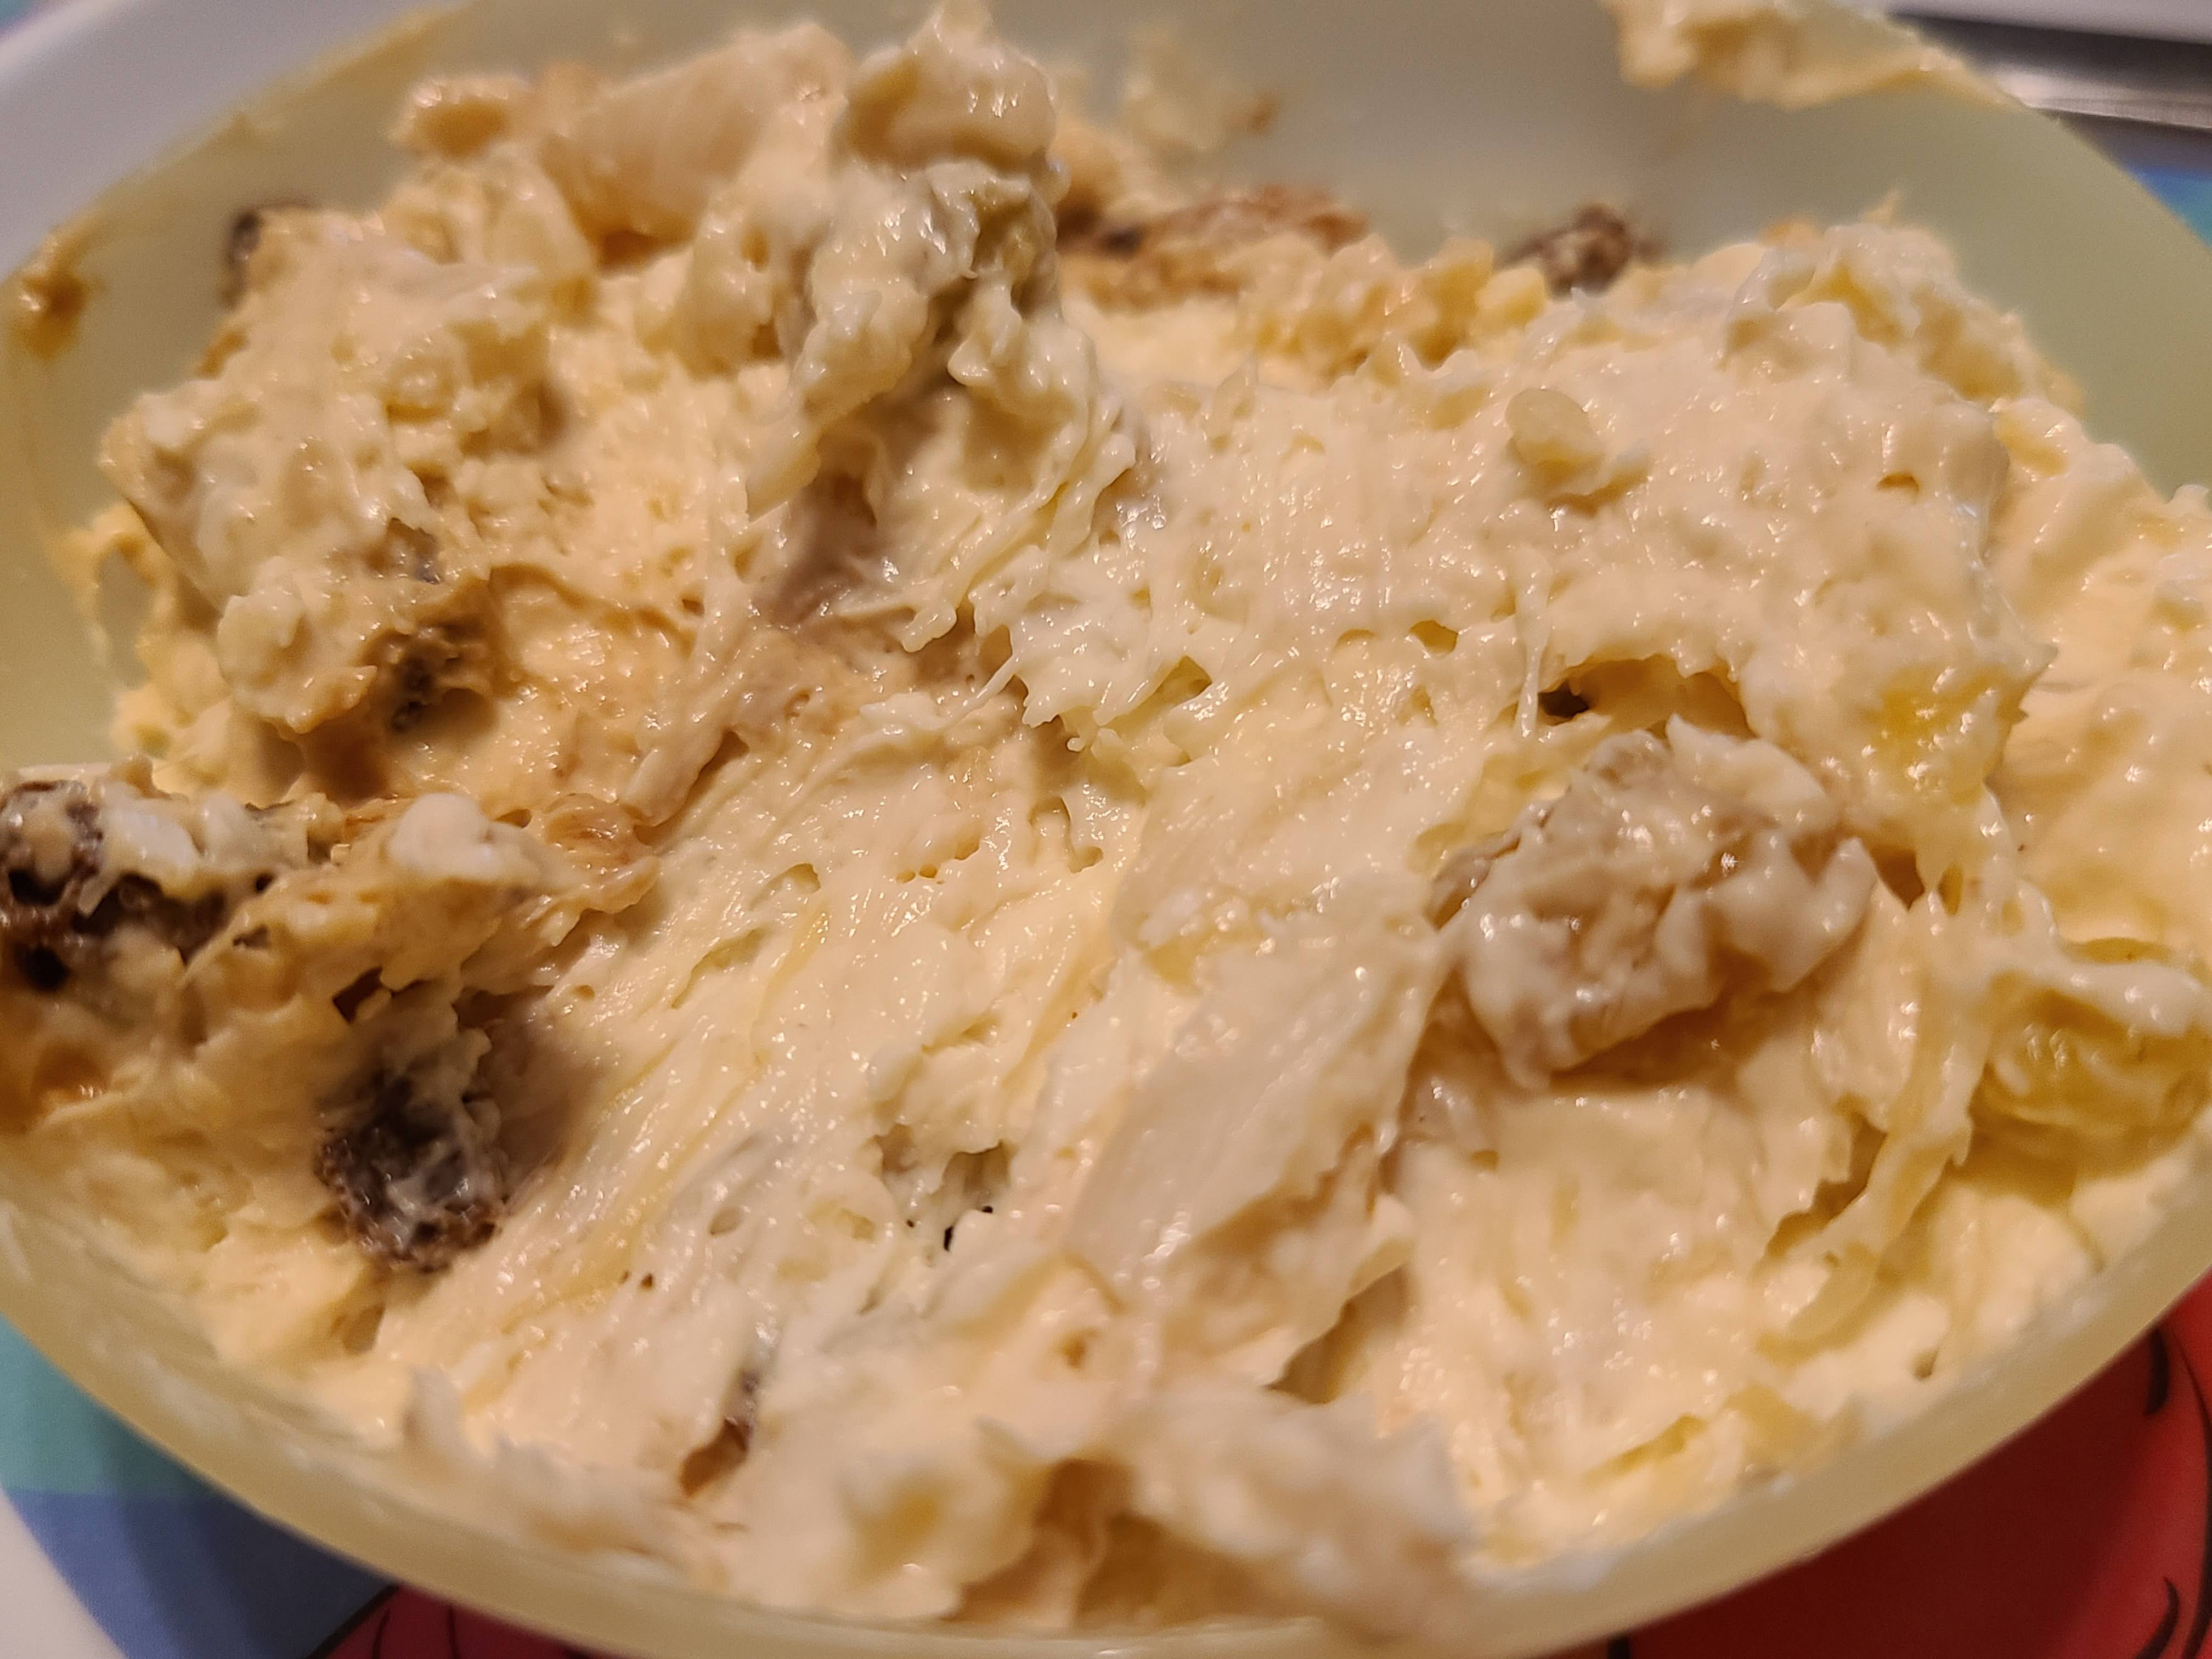
    This recipe comes to us from the Highland Park UMC Jubilee Cookbook (1991). When I found this recipe a few months ago, I thought it sounded good and I finally tried it.  It is perfect for crackers, but I think it could also double as a spread for bagels or toast.  I've adapted it slightly.  The original recipe calls for white raisins. I used a mix of golden raisins and regular dark raisins and I didn't use a mold.  I chilled the mixture overnight and then shaped it into a round ball. 

Ingredients:

16 oz Cream Cheese (softened)

8 oz Crushed Pineapple

7 oz Raisins (Golden/White Raisins look nice; or use a mixture of Golden/White and dark Raisins)

1/2 cup Slivered Almonds

1 1/2 tbsps Orange Juice Concentrate 

Directions:

    Mix together softened cream cheese and orange juice concentrate until well combined.  I literally just softened the concentrate a bit and scooped out the 1 1/2 tablespoons, which I added to my bowl with the softened cream cheese. Stir in crushed pineapple, raisins and almonds one at a time, ensuring they are well incorporated before adding the next ingredient. Chill the mixture for a few hours in a covered bowl or container.  Chill for several hours. I chilled the mixture overnight, but use your best judgement.You don't have to shape the sweet cheese, but if you want to, you need to be able to shape it easily and if it is too soft, it may not be so easy. I used a square Tupperware container for chilling my sweet cheese and shaped it into a ball in the morning. 

    Again, this sweet cheese is perfect on crackers, but would also be good on toast or bagels.  Maybe stuffed french toast???? I bet that would be amazing. 

    I ate this on butter crackers.  I hadn't wanted to keep the whole storage container of cheese out, so just chose to put some of the sweet cheese in a little bowl on a plate with crackers on the side. I thought this was good and would definitely make this again. Enjoy!

Odetta's Sweet Cheese

Odetta's Sweet Cheese on a Cracker


Soup #7 - Cheese Soup

  The Year of Soup Soup #7 - Cheese Soup      This recipe is based off of a recipe in one of my favorite cookbooks in my collection. Better ...