Tuesday, July 13, 2021

Lemonchick's Ambrosia Fruit Salad

 Lemonchick's Ambrosia Fruit Salad


    I have a super easy fruit dish for you.  Combine all ingredients and refrigerate until chilled.  Serve in small bowls or cups. 

Ingredients:

1 Can Crushed Pineapple (You can use chunks also); drain excess juice

1 Can Mandarin Oranges; drained

1 Jar Maraschino Cherries (You can use as many as you want; just cut them in half); drained

Shredded Coconut to taste (I used about 1/2 Cup; but use more or less to your taste)

Mini Marshmallows (Honestly, I did not measure how much I added; use more or less to your taste)

Slivered Almonds (Optional) (I did not opt for nuts this time around)

Ambrosia Fruit Salad


Sunday, June 20, 2021

Odetta's Sweet Cheese

 Odetta's Sweet Cheese

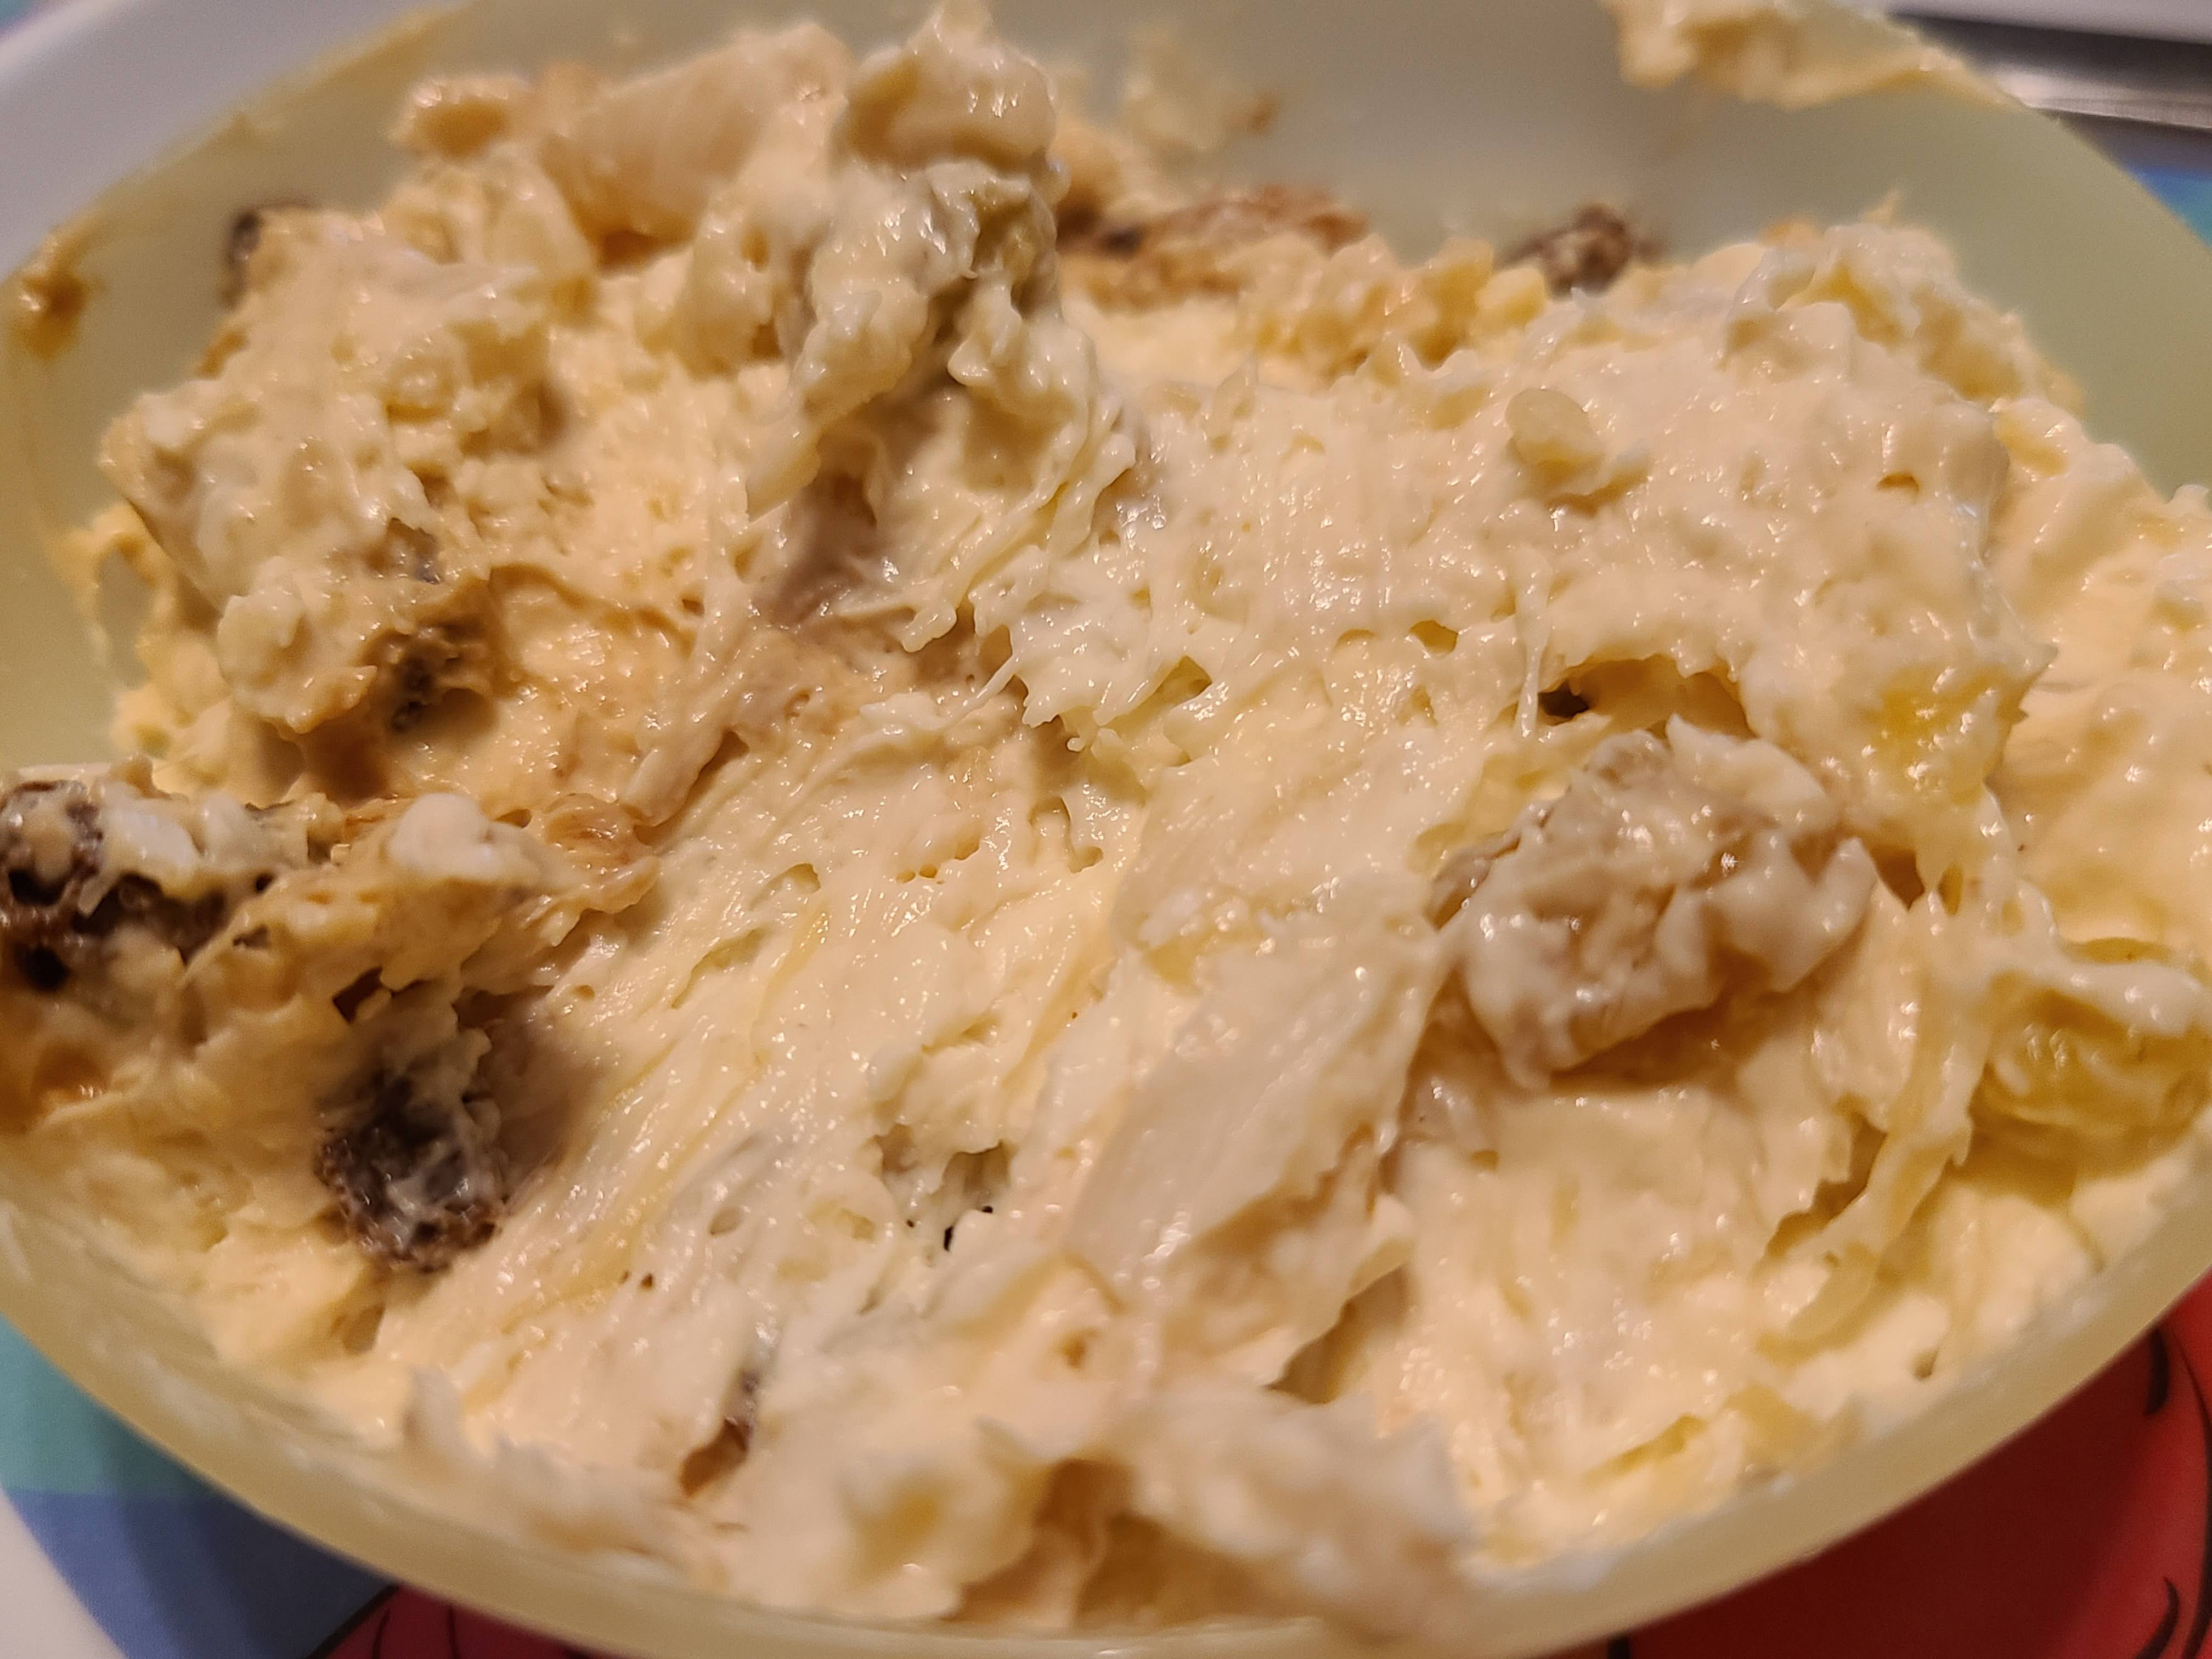
    This recipe comes to us from the Highland Park UMC Jubilee Cookbook (1991). When I found this recipe a few months ago, I thought it sounded good and I finally tried it.  It is perfect for crackers, but I think it could also double as a spread for bagels or toast.  I've adapted it slightly.  The original recipe calls for white raisins. I used a mix of golden raisins and regular dark raisins and I didn't use a mold.  I chilled the mixture overnight and then shaped it into a round ball. 

Ingredients:

16 oz Cream Cheese (softened)

8 oz Crushed Pineapple

7 oz Raisins (Golden/White Raisins look nice; or use a mixture of Golden/White and dark Raisins)

1/2 cup Slivered Almonds

1 1/2 tbsps Orange Juice Concentrate 

Directions:

    Mix together softened cream cheese and orange juice concentrate until well combined.  I literally just softened the concentrate a bit and scooped out the 1 1/2 tablespoons, which I added to my bowl with the softened cream cheese. Stir in crushed pineapple, raisins and almonds one at a time, ensuring they are well incorporated before adding the next ingredient. Chill the mixture for a few hours in a covered bowl or container.  Chill for several hours. I chilled the mixture overnight, but use your best judgement.You don't have to shape the sweet cheese, but if you want to, you need to be able to shape it easily and if it is too soft, it may not be so easy. I used a square Tupperware container for chilling my sweet cheese and shaped it into a ball in the morning. 

    Again, this sweet cheese is perfect on crackers, but would also be good on toast or bagels.  Maybe stuffed french toast???? I bet that would be amazing. 

    I ate this on butter crackers.  I hadn't wanted to keep the whole storage container of cheese out, so just chose to put some of the sweet cheese in a little bowl on a plate with crackers on the side. I thought this was good and would definitely make this again. Enjoy!

Odetta's Sweet Cheese

Odetta's Sweet Cheese on a Cracker


Tuesday, June 15, 2021

Zesty Cheddar Bread

 Zesty Cheddar Bread

    This recipe comes to us from Betty Crocker's The Big Book of Bread, printed in 2013. I love this recipe and have made it with both chipotle peppers as called for in the recipe and with diced green chilis.  You can change it up a bit, by adding more chipotle or using a different cheese. I like using a monterrey jack cheese. This bread is so good hot and with butter.  Try adding diced Italian flavored tomato and Italian seasonings instead of the chipotle or green chilis. I've toasted and buttered slices and added a generous sprinkle of parmesan, because you can't have too much cheese. However you decide to make it, I'm sure you will love it. My adaptations are in blue.

Ingredients:

1 Cup Buttermilk

1/3 Cup Butter, melted and cooled (1/3 Cup Unsalted Butter)

1 Tablespoon sugar

2 Tablespoons finely chopped chipotle chilis in adobo sauce (2 Tablespoons diced green chilis)

2 Eggs

2 Cups All-Purpose Flour

1 Cup Shredded Cheddar (4oz) (1 Cup Monterrey Jack Cheese)

2 Teaspoons Baking Powder

1 Teaspoon Baking Soda

1/2 Teaspoon Salt

Directions:

Pre-heat your oven to 400 degrees and grease just the bottom of an 8x4 or 9x5 inch loaf pan. You can use shortening or cooking spray. Mix together the buttermilk, butter, eggs, sugar and chilis. Mix until well combined and add the rest of your ingredients. Pop this baby in the oven and bake an 8-inch pan for 45 to 55 minutes and a 9-inch pan for 40 to 50 minutes. Your bread is done when a toothpick inserted in the middle comes out clean. Cool your bread in the pan, on a wire cooling rack for 15 minutes (I brushed around some butter on top of my loaf). Run a knife around the loaf in the pan to loosen the bread from the sides and remove from the pan, setting it top side up. 


Zesty Cheddar Bread

    If you try this, let me know what you think. 

Saturday, June 5, 2021

Lemonchick's Cherry Preserves/Cherry Pie Filling/Cherry Pie

 Lemonchick's Cherry Preserves/Cherry Pie Filling/Cherry Pie


    I love cherries.  I didn't grow up eating them regularly; I remember my mom liked them, but we didn't get them often. In the last couple of years though, I've come to adore them. I've learned that I love my own homemade cherry preserves with non-fat/low-fat yogurt.  And, I love cherry pie, but don't like store bought pie filling (It's gross). So, what did I decide to do when I knew that cherries were out? I decided to make preserves and pie filling (a first for me).  

    Pitting cherries is a pain in the rear and even with the cherry pitter I have, I'm realizing that in the future, I need to cut them in half, which adds another layer to the hell of prepping cherries for preserves/pie filling. I've just had experiences where I've not gotten all the pits out of cherries and I don't want to share my filling or preserves and be paranoid on whether or not there are pits left in my finished product.  

    Essential in making both cherry preserves and pie filling, is washing, stemming and pitting your cherries.  I'm not going to go into the canning process (you can 'Google' the how to's of canning or follow the directions in any canning guide you can find), but I will tell you, you'll need to prep all of your jars and canning equipment for the preserves and for the pie filling if you're going to can pie filling. For the preserves, you do not need to prep all of your canning equipment until the final step (after letting the cherries sit for 12 to 18 hours). You do want to make sure the lids on your jars 'pop' after you remove after processing. If they don't 'pop', you should re-process your jars. If you are canning preserves or pie filling, follow the normal guidelines for processing times.

    I did two batches of pie filling, because it was so easy. I made a pie with the first batch and canned the second batch.  

Cherry Preserves

Ingredients:

2 lbs - red cherries, pitted

4 cups - sugar

   Add sugar into a large pot, draining any cherry juice you have into the pot.   If the cherry juice is not enough to dissolve the sugar, add a little water. In my case, none of the times I've ever made preserves, have I had enough cherry juice to dissolve the sugar.  {This time around, I may have added a little too much water, as my preserves didn't set real well.  That's okay though, because it still tastes really good.} Stir the sugar and cherry juice/water constantly until the sugar is dissolved and add the cherries. Bring the cherries to a boil and boil for 5 minutes.  Remove from heat and let stand for 12 to 18 hours.  Next, after you've prepped your jars and canning equipment (including setting the water to boil in the canning pot, bring the cherries back to a rolling boil and boil for 1 minute. Remove the preserves from heat and skim off any foam if there is any visible (I think I forgot to do this). Ladle preserves into jars, leaving a 1/4 inch headspace and remove any bubbles; wipe the jar rim with a damp cloth or you can use a wet paper towel. Add your jar lid and the band; tighten "finger tight", meaning you need to leave the band slightly loosened. Boil your jars in your water bath for 15 minutes, adjusting for jar size and the altitude of your area.  You can find this info in Ball's Ball Blue Book, or Google it.  At the end of the appropriate processing time, remove your cans from the water bath and sit, upright, on a dry dish towel.  Let sit for about 24 hours.  Other directions for canning which I've read, say to remove the bands and store your jars for up to a year or longer. I however, don't remove the bands and my jars always seem find.  

Enjoy your preserves with toast, yogurt, cottage cheese or on whatever you want to use them for. 


Cherry Pie Filling

Ingredients:

4 cups cherries, pitted

1 cup sugar

1/4 cup cornstarch

    Heat your cherries in a saucepan over medium heat and cover your pan. Heat cherries until they release juice and simmer. Stir often. This will take about 10 to 15 minutes. 

    Next, whisk your sugar and cornstarch until smooth and pour into the hot cherries. Combine thoroughly.  On low heat, bring to a simmer and cook until thickened. This should take about 2 minutes or less. Remove from heat, cool and use in pie or can. I made one pie (below) and canned one jar of filling (processing time was about 15 minutes). 


Cherry Pie

Ingredients:

1 recipe two crust pie dough (use your favorite)

1 batch of cherry pie filling (above)

1 egg

    Pre-heat your oven to 400 degrees. I actually baked my pie at between 375 and 400. The reason for this is my oven is ancient and doesn't have proper numbers, so I have a system worked out for figuring out temperature settings. That said, there is a bit of guess work involved, so I'm sure exactly how at the oven was.  

    Follow directions for your making and rolling out your dough. I am not great at rolling out pie crusts, but I had an easier time with this pie than with other pies I've made. Gently lay the bottom crust in a 9 inch pie plate and spoon pie filling into the crust and then lay your top crust over top of the pie filling. Crimp the edges to seal the crusts together. This was the first two crust pie I have made, but I knew enough to put slits in the top crust for venting, since I wasn't making a lattice top pie. After using a small knife to make venting slits, I decided that I wanted a little decoration, so I rolled out extra dough and cut out little stars using my mini star cutter from Pampered Chef. I made a little bit of an egg wash, by fork mixing an egg with a tiny bit of water (you don't want it too egg-y). I lightly brushed egg wash onto the top crust and laid out the starts on top. I think I was pretty smart for thinking that the stars would stick to the top crust better, with the egg wash. After putting my stars down, I brushed a little of the egg wash on top of the starts as well.  

    Normally, you should put a rim of foil on the outside rim of your crust, to prevent it from getting too dark or burning.  When you do this, you remove the foil a few minutes before the end of baking time, so the crust will brown. I forgot to do this, so the edge of my crust got a little too brown (It was not burned though, phew!). Place your pie in your pre-heated oven and bake for 30 minutes.  Remove, cool a bit, if you like and then enjoy with ice cream or whipped cream.  I used fresh whipped cream.  


    So, there you are.  Three cherry recipes.  If you try any, please let me know what you think.  


Cherries - washed & ready to be pitted

Cherry Pie Filling in progress

Cherry Preserves and Pie Filling

Cherry Pie before going into the oven (I'd added one slit before remembering to take a picture)

Cherry Pie just out of the oven

Cherry Pie

Cherry Pie with Whipped Cream


Sunday, May 16, 2021

Lemonchick's Cherry-Chocolate Dessert

 Lemonchick's Cherry-Chocolate Dessert

    This is a super simple dessert. Basically like a "Dump Cake", except I didn't pile on cake batter/mix, so I'm not calling it a "Dump Cake". Also,  I'm estimating the amount of cake mix, chocolate chips and streusel that I used. A lot of the ingredients, you can just do to taste. 

Ingredients:

1 large can of cherry pie filling

1/2 cup chocolate chips or more or less, to taste

1/2 cup dry cake mix 

Butter

Optional: Streusel mix (mine had oatmeal, brown sugar, a tad of flour and ground walnuts)

    Pre-heat your oven to 350 degrees. Spread your cherry pie filling in the bottom of a 9x13 baking dish, sprinkle chocolate chips over top. Sprinkle the dry cake mix over the cherry-chocolate mixture. Make sure you get sprinkle evenly (you want some on all of the cherry-chocolate mixture). Dot thin slices of butter over the whole dish. Sprinkle the streusel mix if you are using that. Bake for 30 minutes. Serve with ice cream or whipped cream. 


Lemonchick's Cherry-Chocolate Dessert


Cherry-Chocolate Dessert & Home-Made Whipped Cream


Lemonchick's Dr. Pepper Rice Casserole

Lemonchick's Dr. Pepper Rice Casserole


     Okay, so this is a recipe which I created.  Years ago I found a recipe for rice using Dr. Pepper.  You replace all or part of the cooking water for the rice, with Dr. Pepper.  I can't remember which one of my books the recipe was in, so I couldn't use the actual recipe. I know the recipe does call for adding curry powder and since I couldn't remember the exact amount, I just used about 2 teaspoons.   You can use have water and half Dr. Pepper and you could also use Diet Dr. Pepper, to cut down the sugar.  The rice does have a sweet taste, because of the sugar in the soda. 

    I had thought about incorporating chicken into the rice to make a casserole and decided golden raisins and almonds would go well with the Dr. Pepper rice and chicken. I used a Garam Masala curry seasoning from Penzey's Spices in Dallas and I very, rarely drink soda, but I had some knock-off Dr. Pepper (a generic store brand), so I used that.  


Ingredients:

4 chicken thighs

1 cup rice

2 cups Dr. Pepper (or generic brand)

1 tsp or more of curry powder (use more if you like)

1/3 cup sliced almonds, blanched

1/3 cup golden raisins

    Start by cutting your chicken into small chunks.  You can use smaller pieces or larger.  This is totally your preference. Heat your pan, add a little bit of oil or cooking spray. Give it another couple minutes to heat up with the oil and then add your chicken.  Cook until there is no longer any pink showing. 

   Once you've started your chicken, go ahead and pre-heat your oven to 350 degress and make your rice. Cook your rice as you would normally, simply substitute Dr. Pepper (or generic brand) soda for water and stir in your curry powder.  I cooked mine in the  microwave (3 minutes on high and 17 minutes on 50% power). Blanch your almonds while your rice and chicken are cooking. Your chicken should be ready by the time the rice is done. Transfer your rice to a large casserole dish.  Mix in the raisins and chicken and sprinkle the blanched almonds on top. You can also transfer the rice to a large mixing bowl, add everything in there and then transfer to a casserole dish (I just wanted to eliminate one more dish to wash). Place your casserole in your oven and bake for 15-20 minutes.  

    Remove from the oven, cool slightly and serve with salad and rolls if you like.  Let me know what you think, if you try this. 

The finished product, Dr. Pepper Rice Casserole

Cook your chicken until there is no pink showing

Blanched almonds

Golden Raisins

Dr. Pepper Rice

Dr. Pepper Rice Casserole (just out of the oven)


   *I served with a salad of mixed greens with mozzarella pearls, pepper, a cranberry-pecan salad topper and croutons. I used a Maple-Bacon vinaigrette dressing.*

Sunday, April 25, 2021

Grandma Marlin's Norwegian Best Bean Hotdish

 Grandma Marlin's Norwegian Best Bean Hotdish


    This recipe is adapted from The Centennial Harvest - A Collection of Recipes from The First Unitarian Church of Dallas. My church. We are Unitarian Universalists.  It was founded in 1899; the 100 year anniversary was celebrated in 1999 and the cookbook was published in 2000.  I joined the church in about 2009/2010. The original recipe was submitted by a member and due to this cookbook only being 10 years old, I'm not going to name her, for privacy reasons.  A friend in the Twitterverse, said she has a cookbook with a very, similar recipe. It goes by the name "4 Bean Bake" in her book and that recipe is popular with her family. 

    Yeah, so this recipe wasn't complicated, but I felt like I used a lot of bowls in making it. I did the washing up, while it was in the oven. When it was finished, there was more liquid than I'd thought there would be, but I liked it. I served my Best Bean Hotdish over some brown rice and had two little pieces of buttered and toasted sourdough bread (to sop up the juices).

Ingredients:

1 Big Can of Baked Beans (I used a large can of Bush's Original Baked Beans)

2 Cans Kidney Beans

2 Cans Great Northern Beans (The original recipe calls for butter beans)

1 lb Bacon, cut into 1 inch strips

3 Large Yellow Onions; Sliced and then sliced in half (The original recipe calls for 4 large Bermuda onions, sliced)

1 Cup Brown Sugar

1 Tsp Garlic Powder

1/2 Tsp Dry Mustard

1/2 Cup Vinegar

    Pre-heat your oven to 350 degrees.  Drain the beans, saving the liquid and mixing the beans together in a large bowl.  The original recipe also says to cut your bacon into 1 inch strips, but you can certainly cut into smaller pieces if you like. Whatever size you choose, you'll fry it gently, not letting it get crispy, and remove from your pan. Put your onion in the skillet and fry for several minutes (about five minutes at least), stirring to coat with the bacon grease.  Whisk together the last four ingredients and stir into the onions. Simmer for 20 minutes. If the liquid evaporates, add in a little of the reserved bean juice, so it doesn't stick, because you don't want the onions to get dry. Mix the onion mixture into the beans, add the pieces of bacon which you had set aside and combine all ingredients. Pour the mixture into a large casserole dish.  The original recipe says a covered casserole dish. I had to use the largest casserole dish that I own, which does not have a lid. Since my dish did not have a lid, I used foil and it worked fine. Bake for 50 minutes at 350 degrees. I really don't know how this could ever fit in a regular sized casserole dish, because it made a huge amount. 

    Serve as a side dish or over rice.  The side of sourdough bread went really well with this dish, because again, "hello!!" there was juices to soak up. I have no idea how many servings to say this made, so let's just say "a lot", because it was a lot. 

    The verdict? I really, liked this recipe and would definitely make this again. 

Great Norther, Kidney and Baked Beans

Onions

The bean, onion and bacon mixture.

Yass!!! It looks yummy, just out of the oven.

I wasn't going to include two pictures of the finished dish, but you can see my UU (Unitarian Universalist) Flaming Chalice (our church symbol) tattoo, so I'm including this photo, because my church means a lot to me. 

A close-up of yumminess.


Soup #7 - Cheese Soup

  The Year of Soup Soup #7 - Cheese Soup      This recipe is based off of a recipe in one of my favorite cookbooks in my collection. Better ...