Lemonchick's Cherry Preserves/Cherry Pie Filling/Cherry Pie
I love cherries. I didn't grow up eating them regularly; I remember my mom liked them, but we didn't get them often. In the last couple of years though, I've come to adore them. I've learned that I love my own homemade cherry preserves with non-fat/low-fat yogurt. And, I love cherry pie, but don't like store bought pie filling (It's gross). So, what did I decide to do when I knew that cherries were out? I decided to make preserves and pie filling (a first for me).
Pitting cherries is a pain in the rear and even with the cherry pitter I have, I'm realizing that in the future, I need to cut them in half, which adds another layer to the hell of prepping cherries for preserves/pie filling. I've just had experiences where I've not gotten all the pits out of cherries and I don't want to share my filling or preserves and be paranoid on whether or not there are pits left in my finished product.
Essential in making both cherry preserves and pie filling, is washing, stemming and pitting your cherries. I'm not going to go into the canning process (you can 'Google' the how to's of canning or follow the directions in any canning guide you can find), but I will tell you, you'll need to prep all of your jars and canning equipment for the preserves and for the pie filling if you're going to can pie filling. For the preserves, you do not need to prep all of your canning equipment until the final step (after letting the cherries sit for 12 to 18 hours). You do want to make sure the lids on your jars 'pop' after you remove after processing. If they don't 'pop', you should re-process your jars. If you are canning preserves or pie filling, follow the normal guidelines for processing times.
I did two batches of pie filling, because it was so easy. I made a pie with the first batch and canned the second batch.
Cherry Preserves
Ingredients:
2 lbs - red cherries, pitted
4 cups - sugar
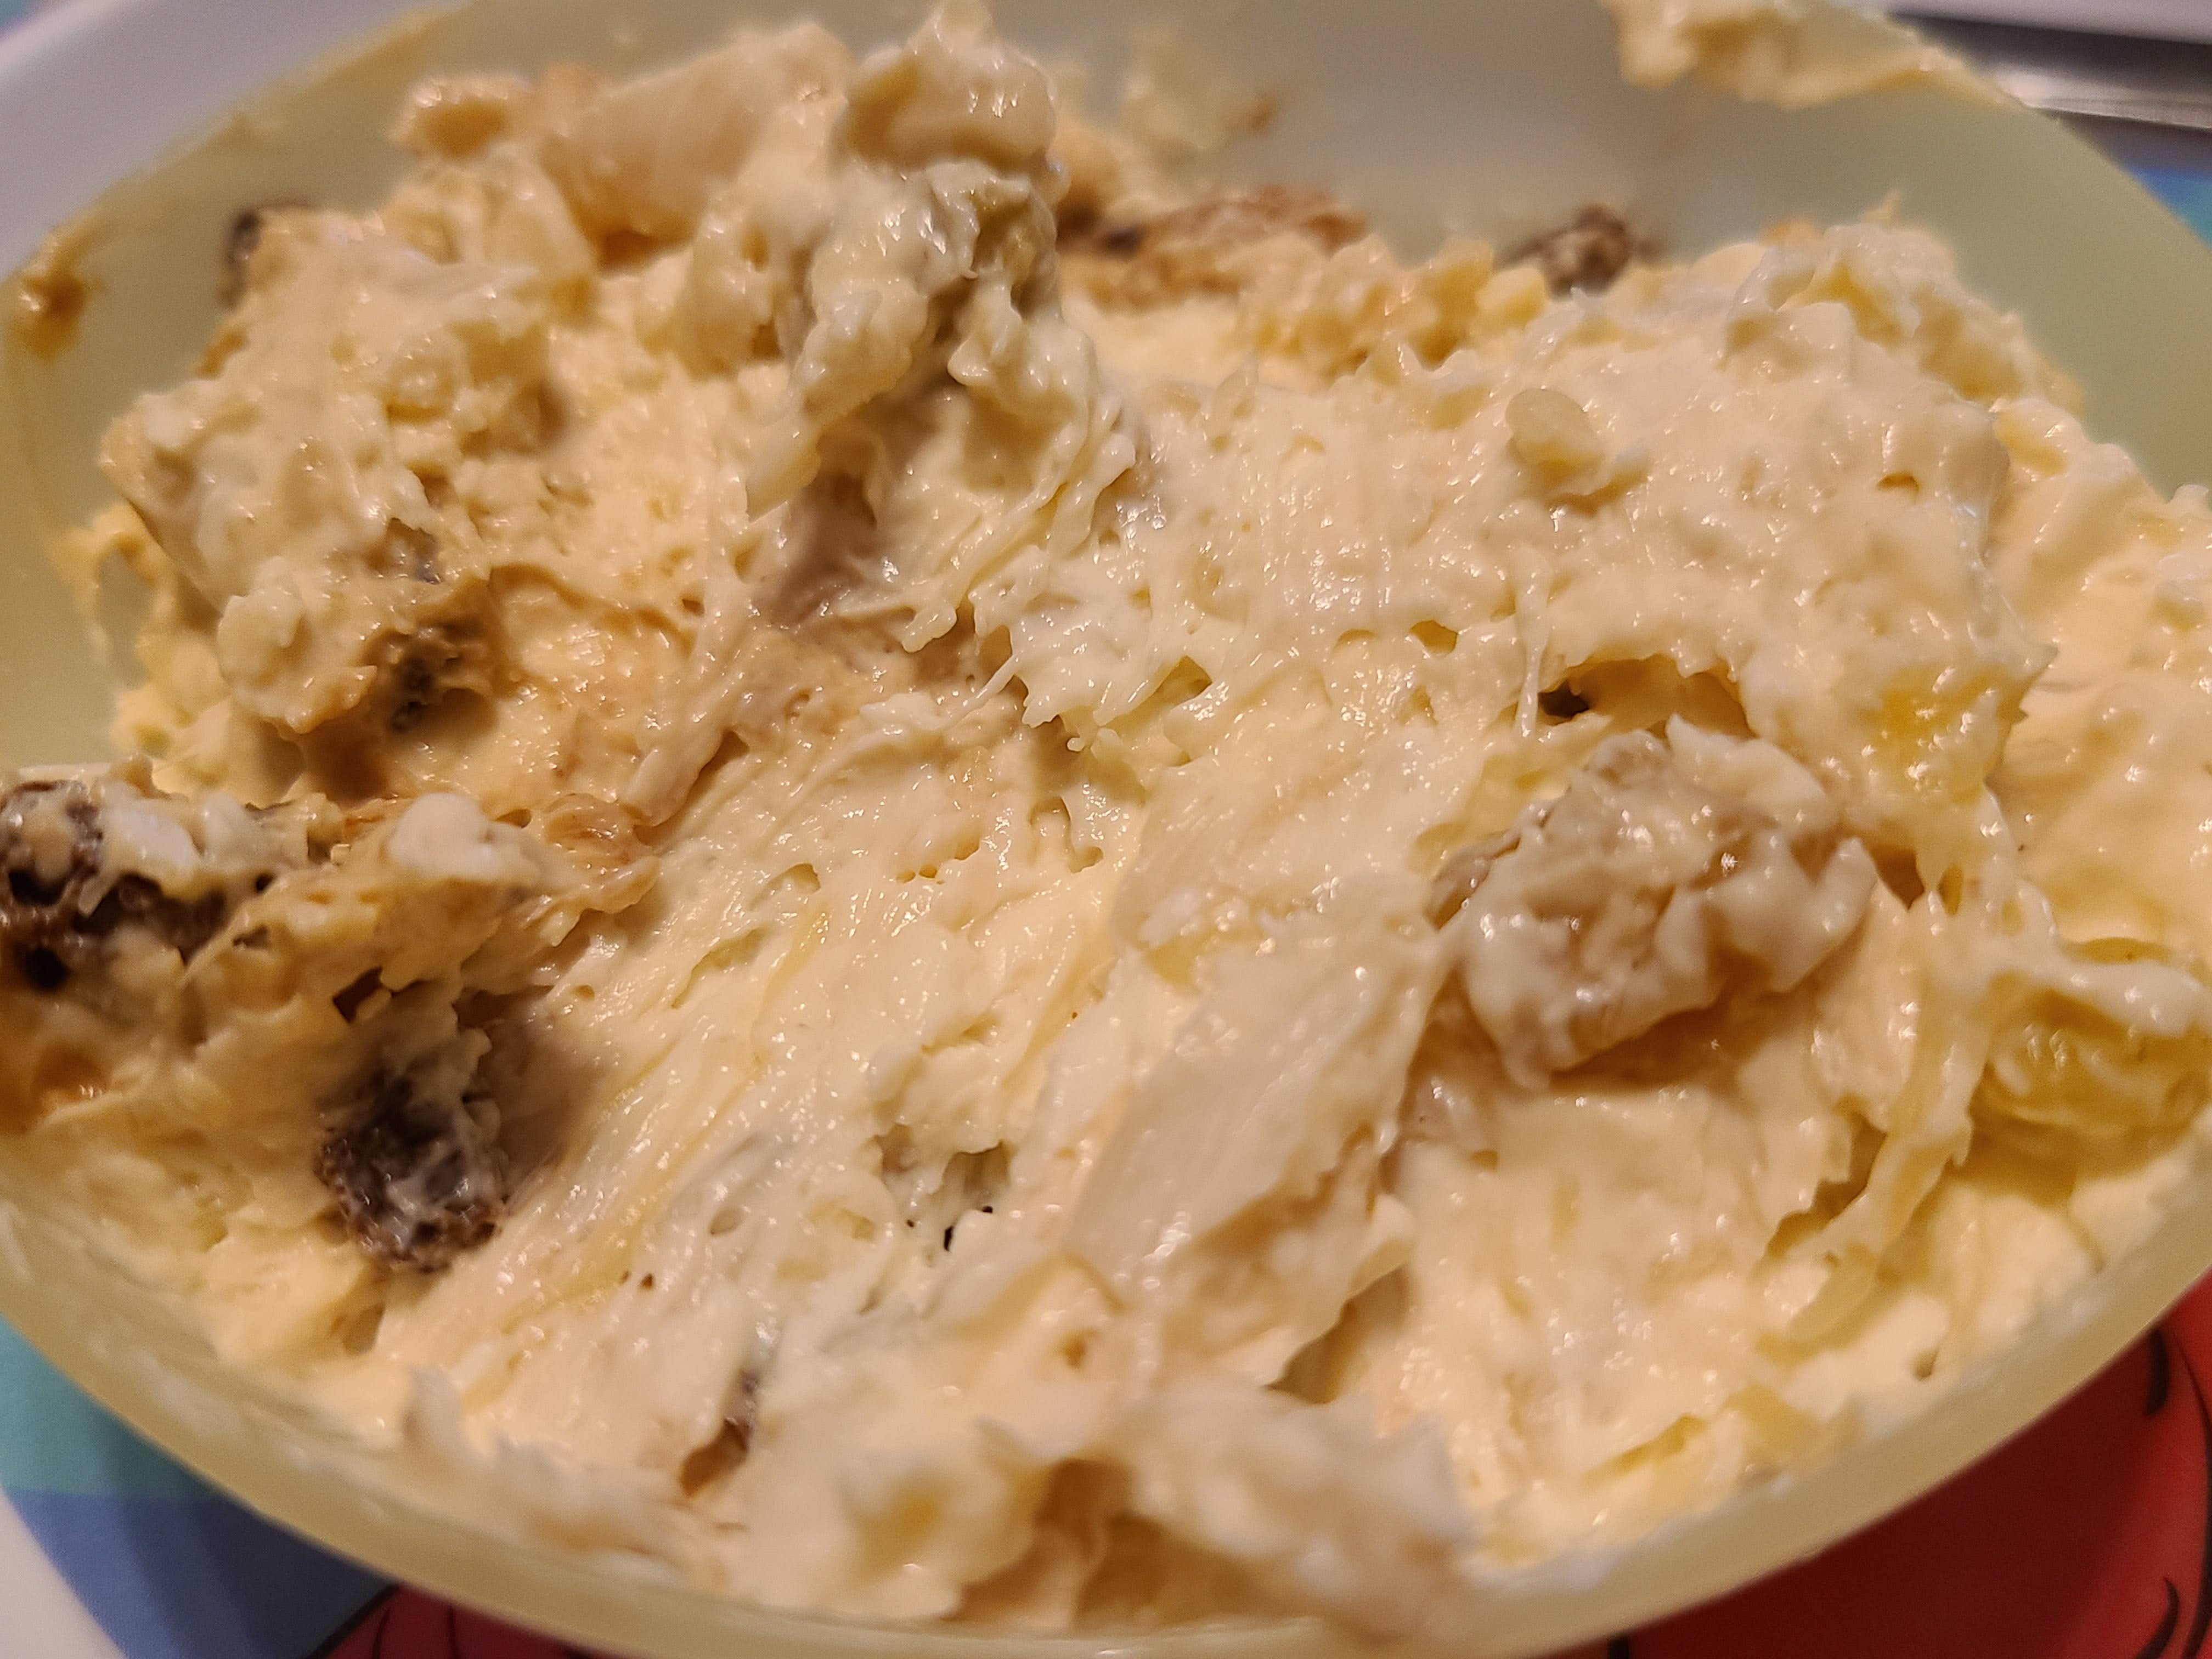
Add sugar into a large pot, draining any cherry juice you have into the pot. If the cherry juice is not enough to dissolve the sugar, add a little water. In my case, none of the times I've ever made preserves, have I had enough cherry juice to dissolve the sugar. {This time around, I may have added a little too much water, as my preserves didn't set real well. That's okay though, because it still tastes really good.} Stir the sugar and cherry juice/water constantly until the sugar is dissolved and add the cherries. Bring the cherries to a boil and boil for 5 minutes. Remove from heat and let stand for 12 to 18 hours. Next, after you've prepped your jars and canning equipment (including setting the water to boil in the canning pot, bring the cherries back to a rolling boil and boil for 1 minute. Remove the preserves from heat and skim off any foam if there is any visible (I think I forgot to do this). Ladle preserves into jars, leaving a 1/4 inch headspace and remove any bubbles; wipe the jar rim with a damp cloth or you can use a wet paper towel. Add your jar lid and the band; tighten "finger tight", meaning you need to leave the band slightly loosened. Boil your jars in your water bath for 15 minutes, adjusting for jar size and the altitude of your area. You can find this info in Ball's Ball Blue Book, or Google it. At the end of the appropriate processing time, remove your cans from the water bath and sit, upright, on a dry dish towel. Let sit for about 24 hours. Other directions for canning which I've read, say to remove the bands and store your jars for up to a year or longer. I however, don't remove the bands and my jars always seem find.
Enjoy your preserves with toast, yogurt, cottage cheese or on whatever you want to use them for.
Cherry Pie Filling
Ingredients:
4 cups cherries, pitted
1 cup sugar
1/4 cup cornstarch
Heat your cherries in a saucepan over medium heat and cover your pan. Heat cherries until they release juice and simmer. Stir often. This will take about 10 to 15 minutes.
Next, whisk your sugar and cornstarch until smooth and pour into the hot cherries. Combine thoroughly. On low heat, bring to a simmer and cook until thickened. This should take about 2 minutes or less. Remove from heat, cool and use in pie or can. I made one pie (below) and canned one jar of filling (processing time was about 15 minutes).
Cherry Pie
Ingredients:
1 recipe two crust pie dough (use your favorite)
1 batch of cherry pie filling (above)
1 egg
Pre-heat your oven to 400 degrees. I actually baked my pie at between 375 and 400. The reason for this is my oven is ancient and doesn't have proper numbers, so I have a system worked out for figuring out temperature settings. That said, there is a bit of guess work involved, so I'm sure exactly how at the oven was.
Follow directions for your making and rolling out your dough. I am not great at rolling out pie crusts, but I had an easier time with this pie than with other pies I've made. Gently lay the bottom crust in a 9 inch pie plate and spoon pie filling into the crust and then lay your top crust over top of the pie filling. Crimp the edges to seal the crusts together. This was the first two crust pie I have made, but I knew enough to put slits in the top crust for venting, since I wasn't making a lattice top pie. After using a small knife to make venting slits, I decided that I wanted a little decoration, so I rolled out extra dough and cut out little stars using my mini star cutter from Pampered Chef. I made a little bit of an egg wash, by fork mixing an egg with a tiny bit of water (you don't want it too egg-y). I lightly brushed egg wash onto the top crust and laid out the starts on top. I think I was pretty smart for thinking that the stars would stick to the top crust better, with the egg wash. After putting my stars down, I brushed a little of the egg wash on top of the starts as well.
Normally, you should put a rim of foil on the outside rim of your crust, to prevent it from getting too dark or burning. When you do this, you remove the foil a few minutes before the end of baking time, so the crust will brown. I forgot to do this, so the edge of my crust got a little too brown (It was not burned though, phew!). Place your pie in your pre-heated oven and bake for 30 minutes. Remove, cool a bit, if you like and then enjoy with ice cream or whipped cream. I used fresh whipped cream.
So, there you are. Three cherry recipes. If you try any, please let me know what you think.
 |
| Cherries - washed & ready to be pitted |
 |
| Cherry Pie Filling in progress |
 |
| Cherry Preserves and Pie Filling |
 |
| Cherry Pie before going into the oven (I'd added one slit before remembering to take a picture) |
 |
| Cherry Pie just out of the oven |
 |
| Cherry Pie |
 |
| Cherry Pie with Whipped Cream |